Uh oh, you are visiting the site using Internet Explorer. Which is an outdated browser.
For the best experience please visit the site using one of the following browsers.
ChromeSafariFirefox
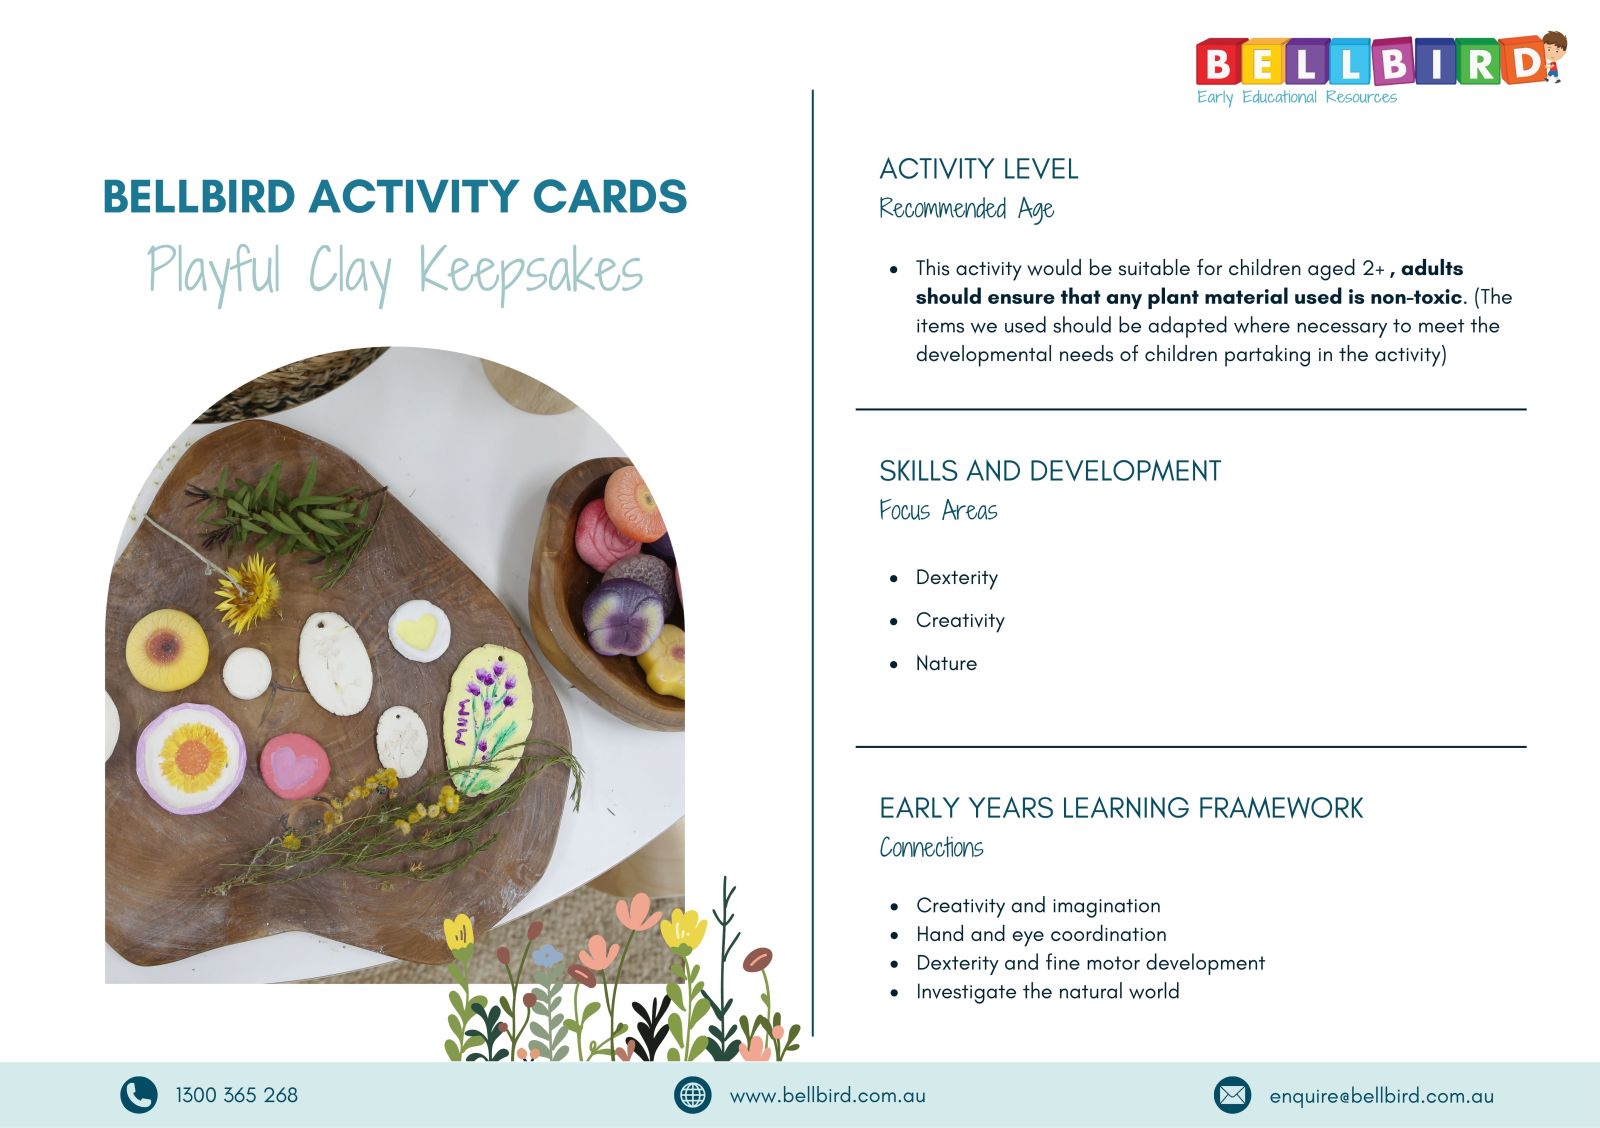
Roll out your clay and use various materials to indent and mould your clay into your creations!
For the flowers and leaves lay them on a flat piece of clay, using your rolling pin to gently roll over the flowers to press them into the clay. Remove the flowers to reveal you embossed clay. Place a small hole at the top, allow to dry befre decorating you floral ornament. Once finished add your ribbon for hanging.
To create a flower pinch pot, roll out a circle of clay and gently pinch up the sides to create a dish shape. Holding the dish in your hand press your stamp into the centre, allow to dry and then decorate.
Lastly to create your fingerprint magnet, roll a small ball of dough, pressing fingertip firmly into the dough to create you imprint (to create the heart, press your finger in on an angle twice to create a hreat shape). Allow to dry and decorate. Use a hot glue gun to attach your magnet to the back.
After your creations have been painted and dryed, you can glaze them by painting a thin layer of PVA over the top on your projects.
3821 Create a heartfelt Mother’s Day gift through hands-on clay play, combining creativity, care, and a personal touch. Playful Clay Keepsakes 3821 Playful Clay Keepsakes Create a heartfelt Mother’s Day gift through hands-on clay play, combining creativity, care, and a personal touch. 3821 3 3
Roll out your clay and use various materials to indent and mould your clay into your creations!
For the flowers and leaves lay them on a flat piece of clay, using your rolling pin to gently roll over the flowers to press them into the clay. Remove the flowers to reveal you embossed clay. Place a small hole at the top, allow to dry befre decorating you floral ornament. Once finished add your ribbon for hanging.
To create a flower pinch pot, roll out a circle of clay and gently pinch up the sides to create a dish shape. Holding the dish in your hand press your stamp into the centre, allow to dry and then decorate.
Lastly to create your fingerprint magnet, roll a small ball of dough, pressing fingertip firmly into the dough to create you imprint (to create the heart, press your finger in on an angle twice to create a hreat shape). Allow to dry and decorate. Use a hot glue gun to attach your magnet to the back.
After your creations have been painted and dryed, you can glaze them by painting a thin layer of PVA over the top on your projects.
Recipes for Creativity Playful Clay Keepsakes 3821 2 Playful Clay Keepsakes Create a heartfelt Mother’s Day gift through hands-on clay play, combining creativity, care, and a personal touch. Create a heartfelt Mother’s Day gift through hands-on clay play, combining creativity, care, and a personal touch. blog 3 Blog Post 0000-00-00 00:00:00 2026-04-17 09:50:52
Roll out your clay and use various materials to indent and mould your clay into your creations!
For the flowers and leaves lay them on a flat piece of clay, using your rolling pin to gently roll over the flowers to press them into the clay. Remove the flowers to reveal you embossed clay. Place a small hole at the top, allow to dry befre decorating you floral ornament. Once finished add your ribbon for hanging.
To create a flower pinch pot, roll out a circle of clay and gently pinch up the sides to create a dish shape. Holding the dish in your hand press your stamp into the centre, allow to dry and then decorate.
Lastly to create your fingerprint magnet, roll a small ball of dough, pressing fingertip firmly into the dough to create you imprint (to create the heart, press your finger in on an angle twice to create a hreat shape). Allow to dry and decorate. Use a hot glue gun to attach your magnet to the back.
After your creations have been painted and dryed, you can glaze them by painting a thin layer of PVA over the top on your projects.

.jpg)

